Controversial? 😉
I know, I know. Some people like them, some people hate them.
But at least opinions on them aren’t as polarizing as on the neon underglow, so let’s put any prejudices aside…
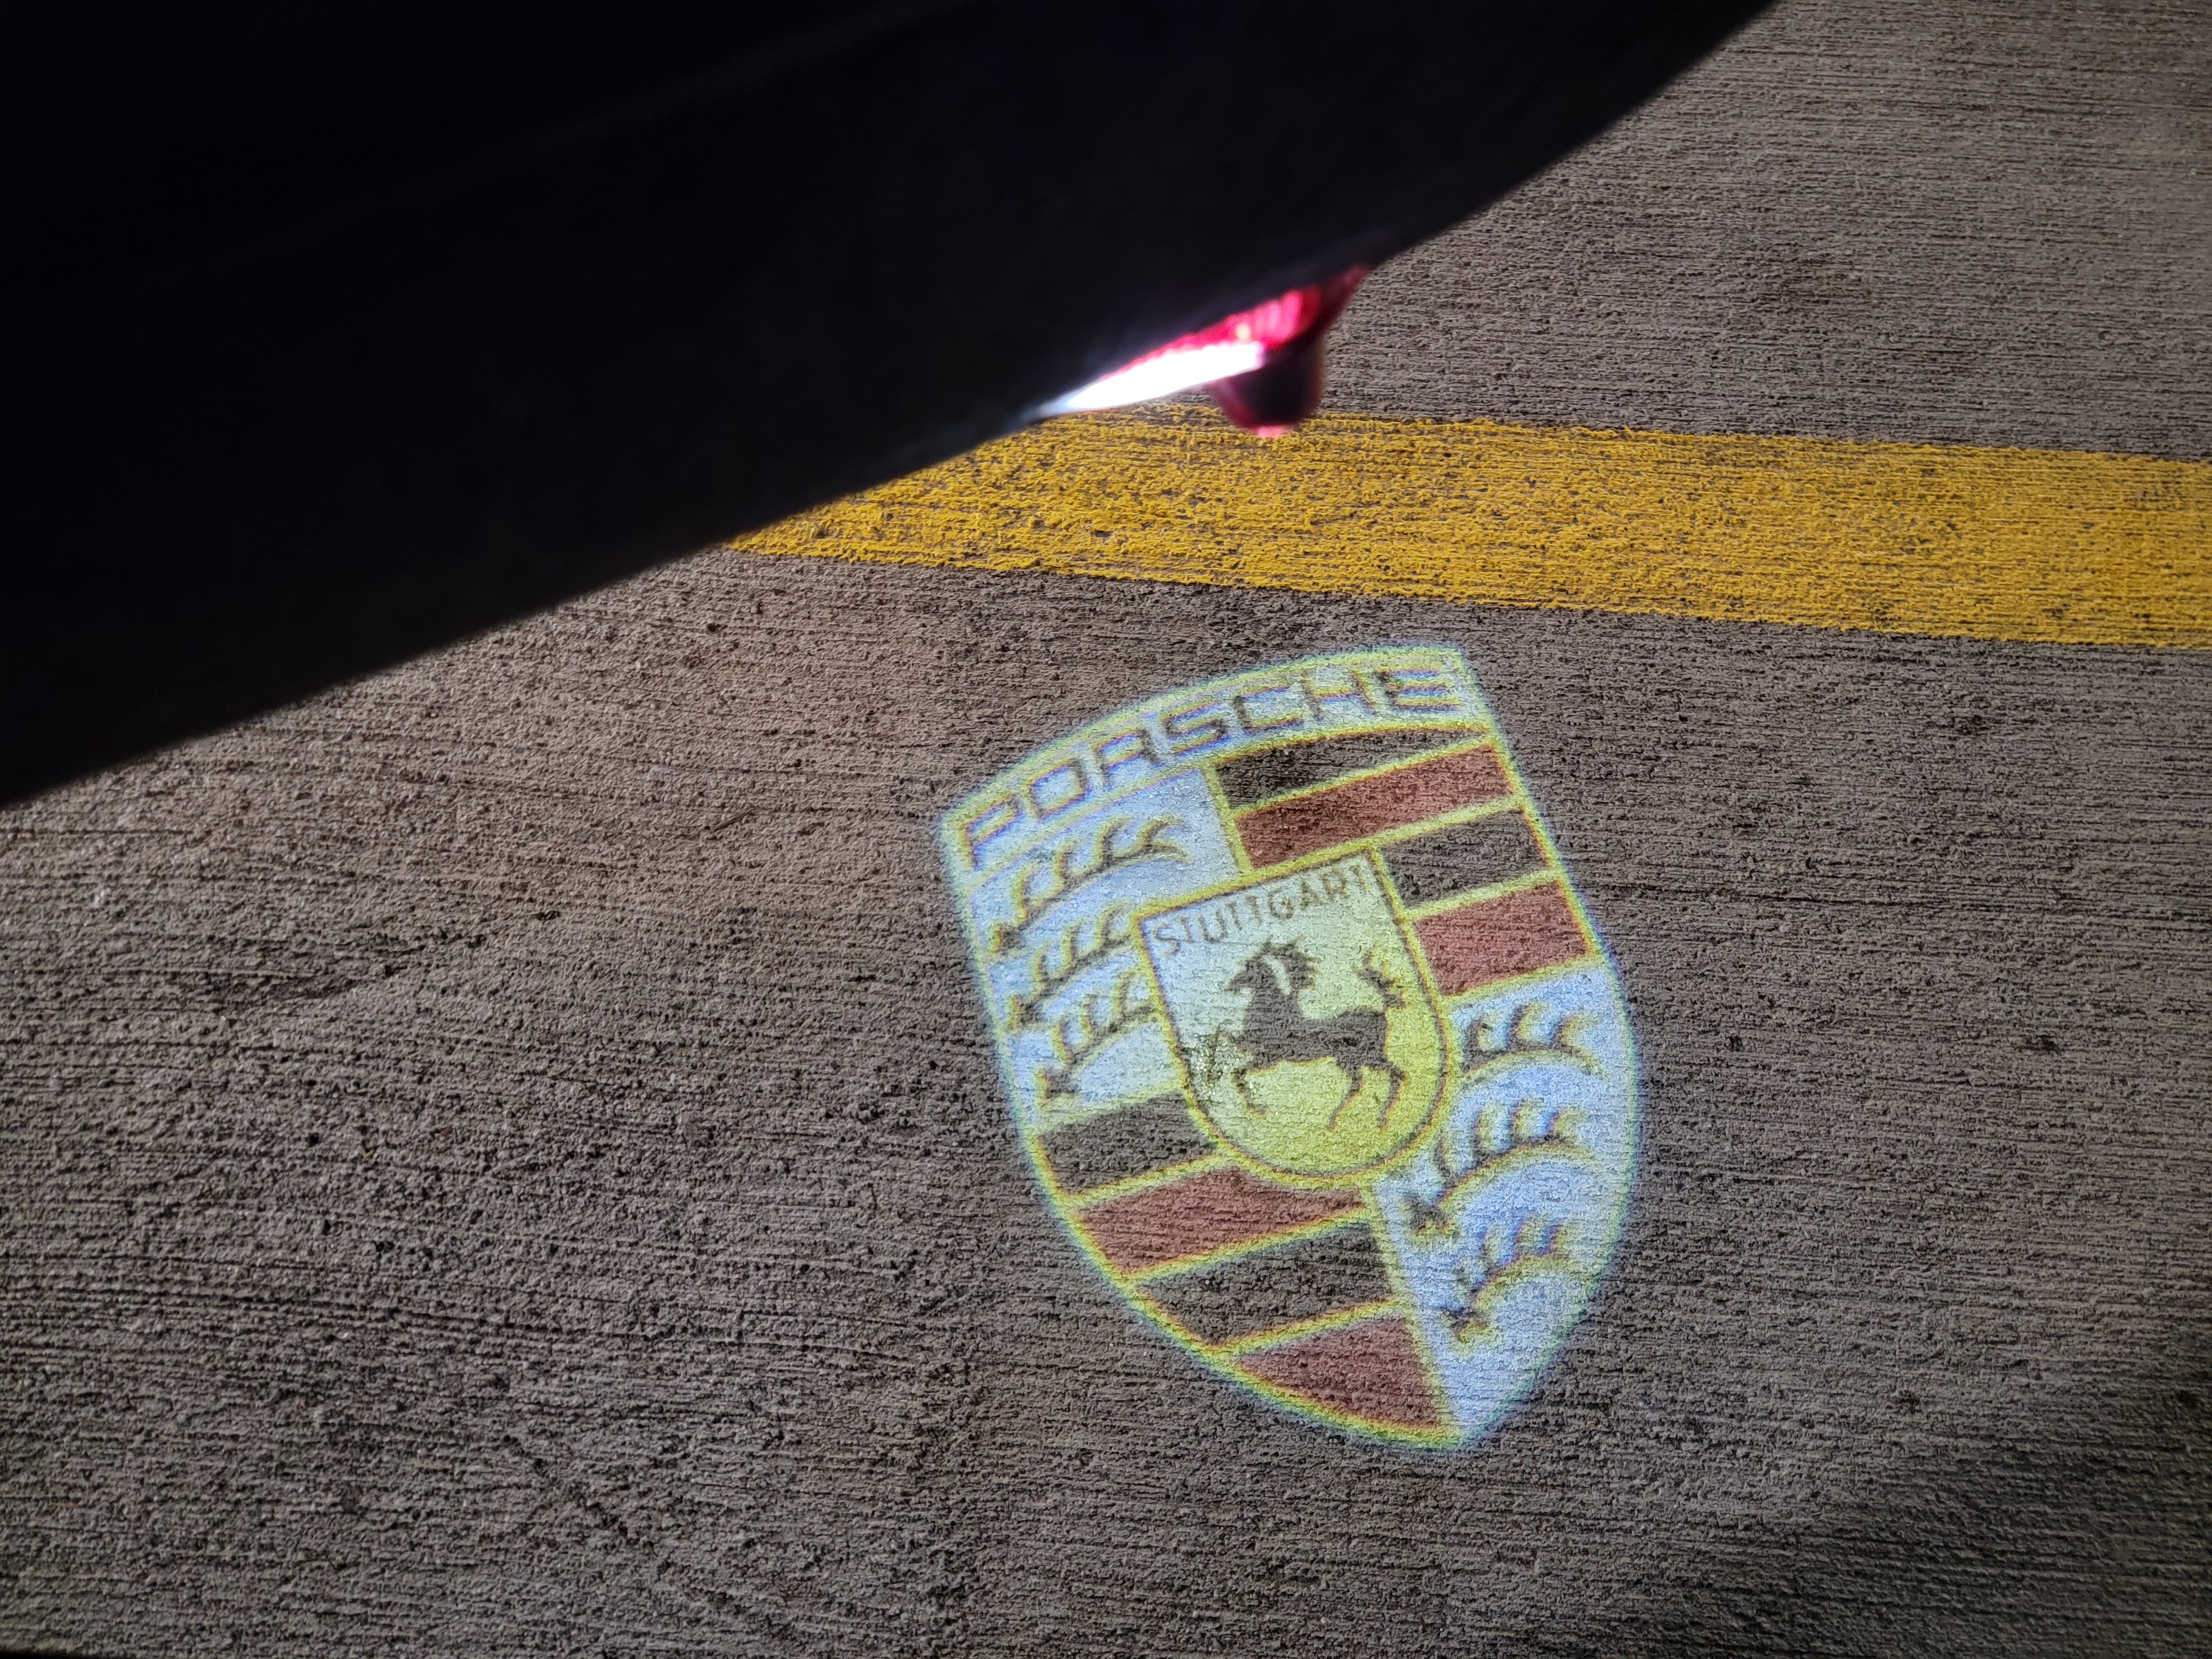
… and let’s install new courtesy lights (aka “puddle lights”) with the Porsche logo!
Oh, and in case you wondered – I’m a fan 😉
Link to purchase the lights
It took me some time to find the right model (I was looking for ones matching 987.2 Cayman S), and it didn’t go without an adventure. I found an online store that, well, looked reputable, so I gave it a shot.
Unfortunately, the model I received was for different year and simply wouldn’t fit. I contacted the store’s support on Messenger, and they were very helpful. Replacement (the right model) was sent the next day and arrived in another couple of weeks. It was the right one this time! Plus, I got to keep the first one as they didn’t want me to ship it back or anything. Being a member of a Porsche Club, it can make for a nice surprise for someone 😉
Anyways, because of the great support experience, and prompt resolution, I’m convinced the small snag was an honest mistake (especially considering how non-descriptive the boxes are, hard to decipher what model is it for exactly), and I’m comfortable recommending the store, which is:
and specifically, this is the product I ordered:
Be sure to specify year and model of your vehicle when placing an order!
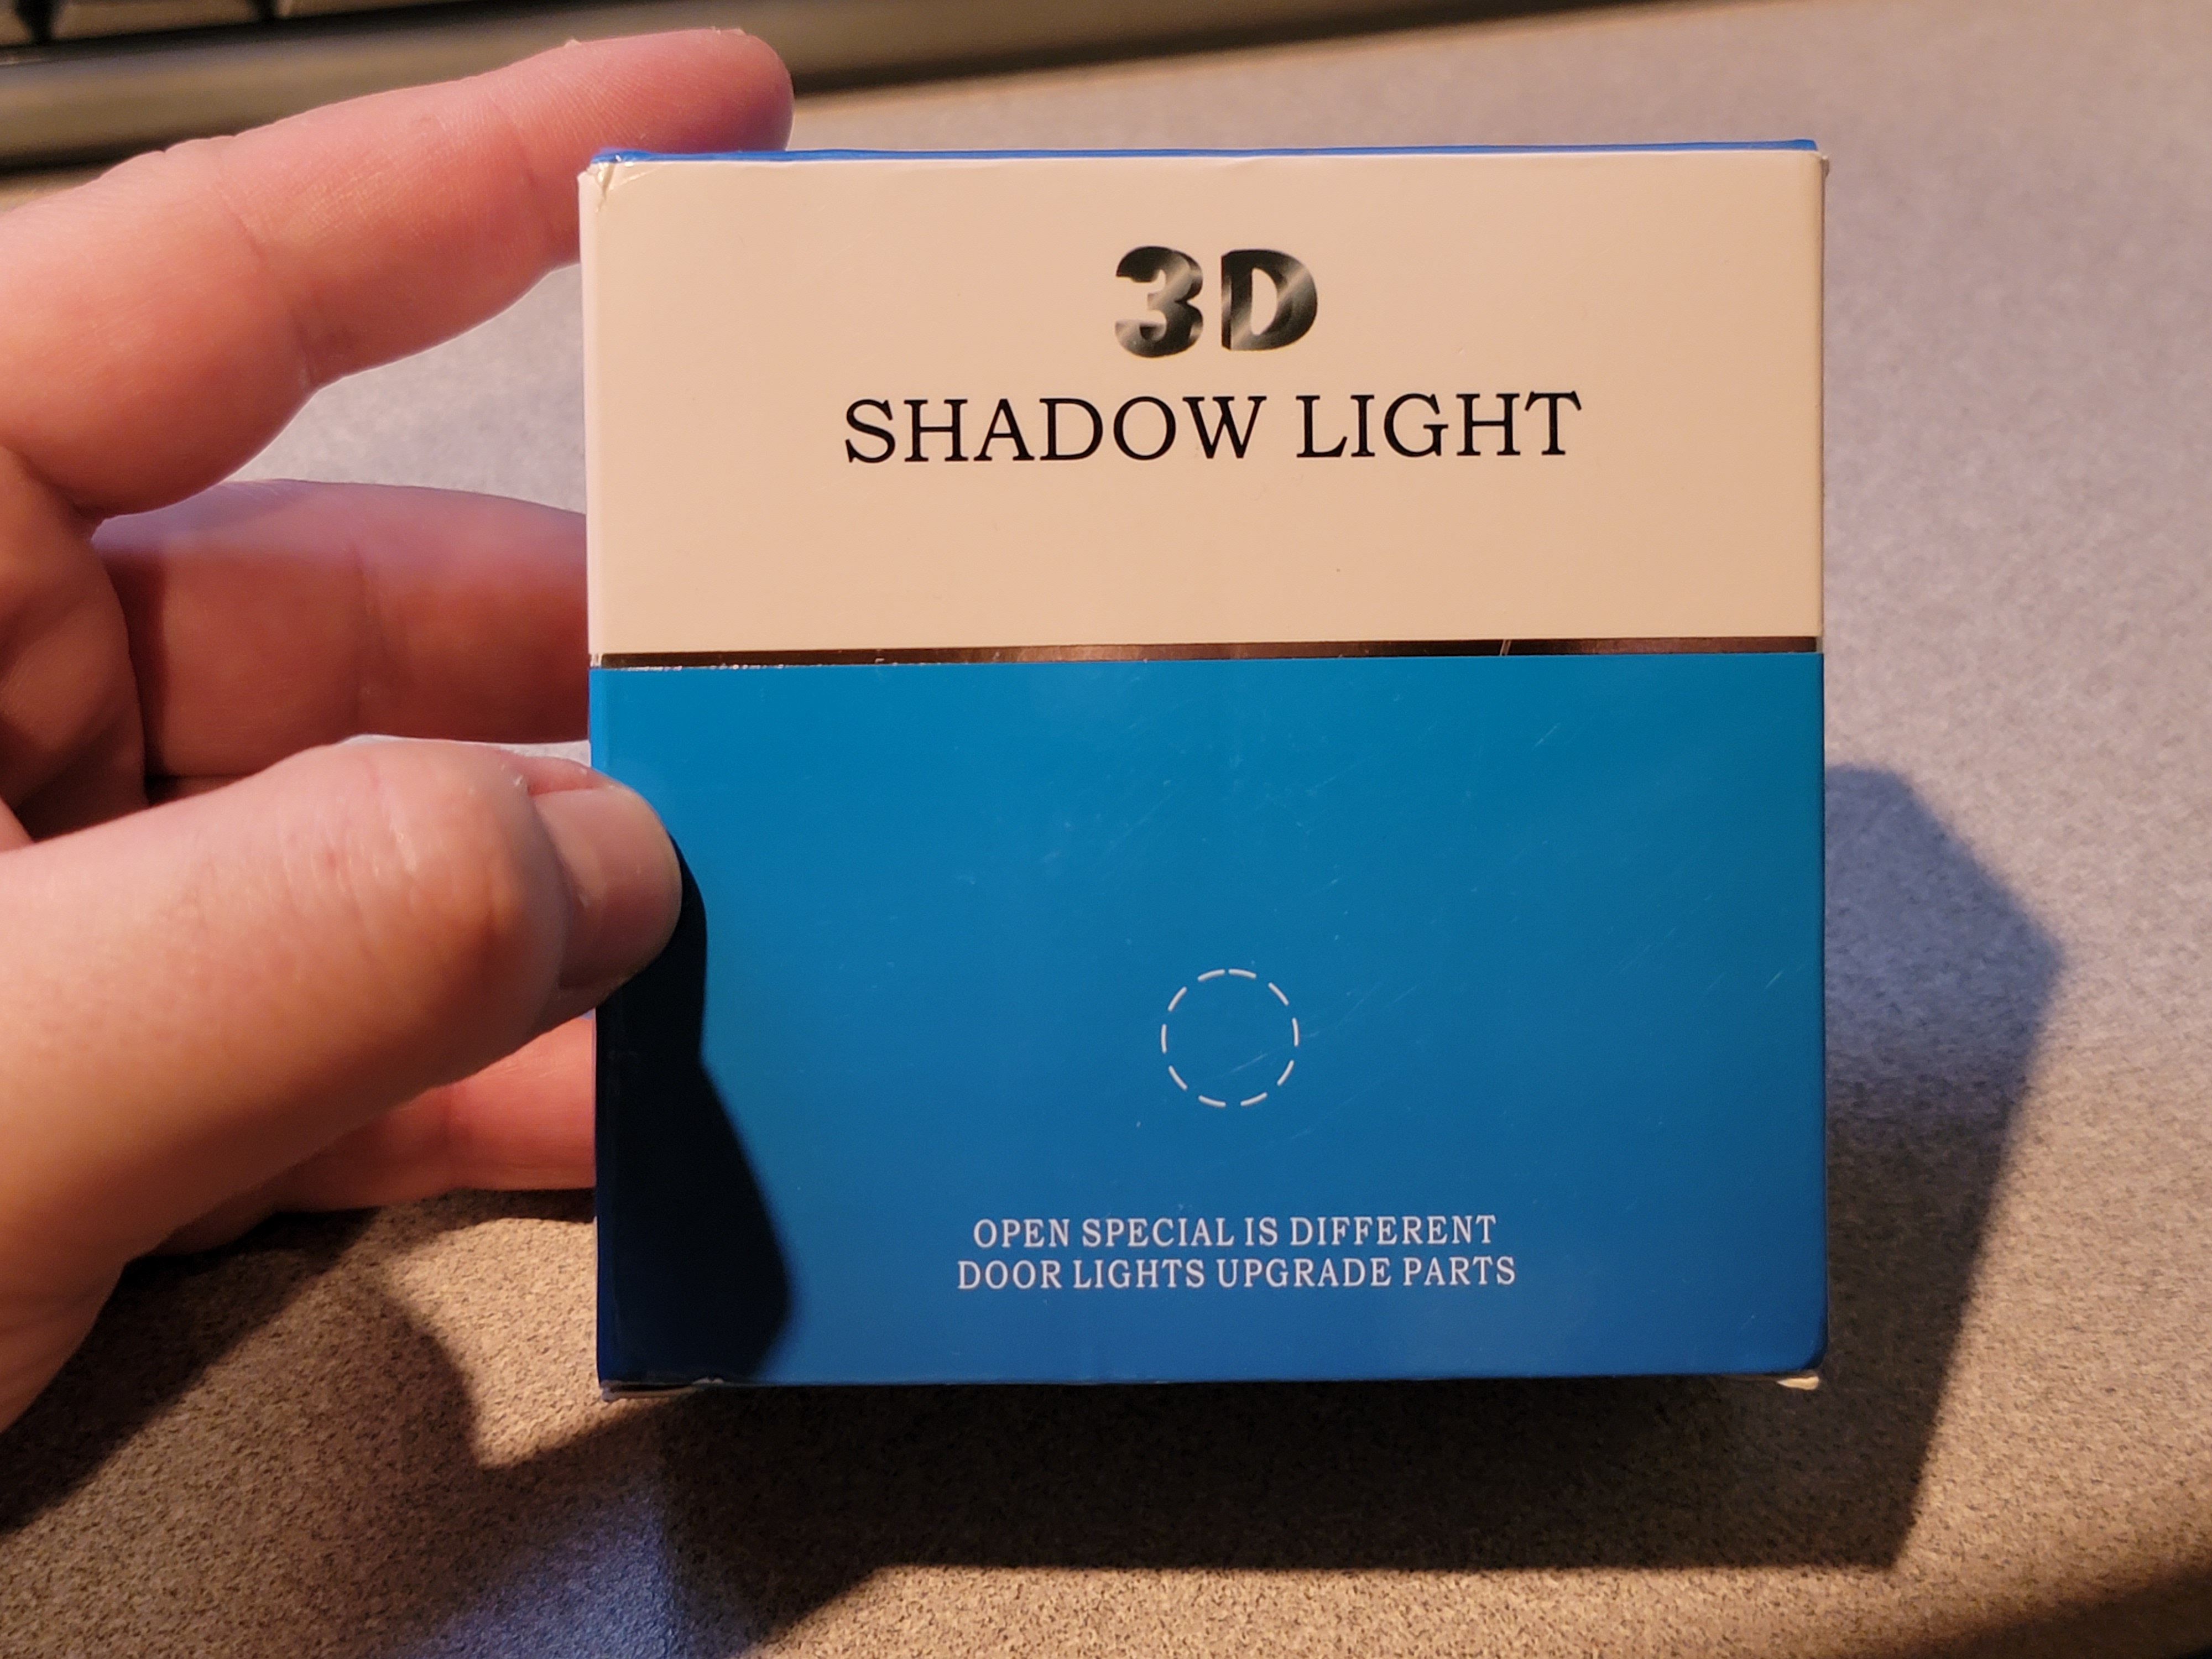
This is how the package looked like:

Alright, let’s get to the installation.
Tools needed
- Flat screwdriver to shimmy the light off the door,
- Wire cutter
- But on Amazon – but any pliers with wire cutters will work just fine as well,
- Wire stripper
- Buy on Amazon – this is one of those tool that comes in handy more often than I’d have thought 😉 Sure, you can strip the wire with a knife if this is the only time you anticipate doing so, but otherwise – this tool works like a charm, every time.
- Wire connectors (~terminal connectors),
- Buy on Amazon – this is an example product, and you can grab any other set, but please note that the wires we’re dealing with are quite thin, thus try to find a matching connector for a higher gauge wire, so that it’s secure when crimpled,
- Here’s a quick look at the set I have:

Installing the lights
First things first – park in a safe location, do some stretches, take few photos of your beautiful car 😉
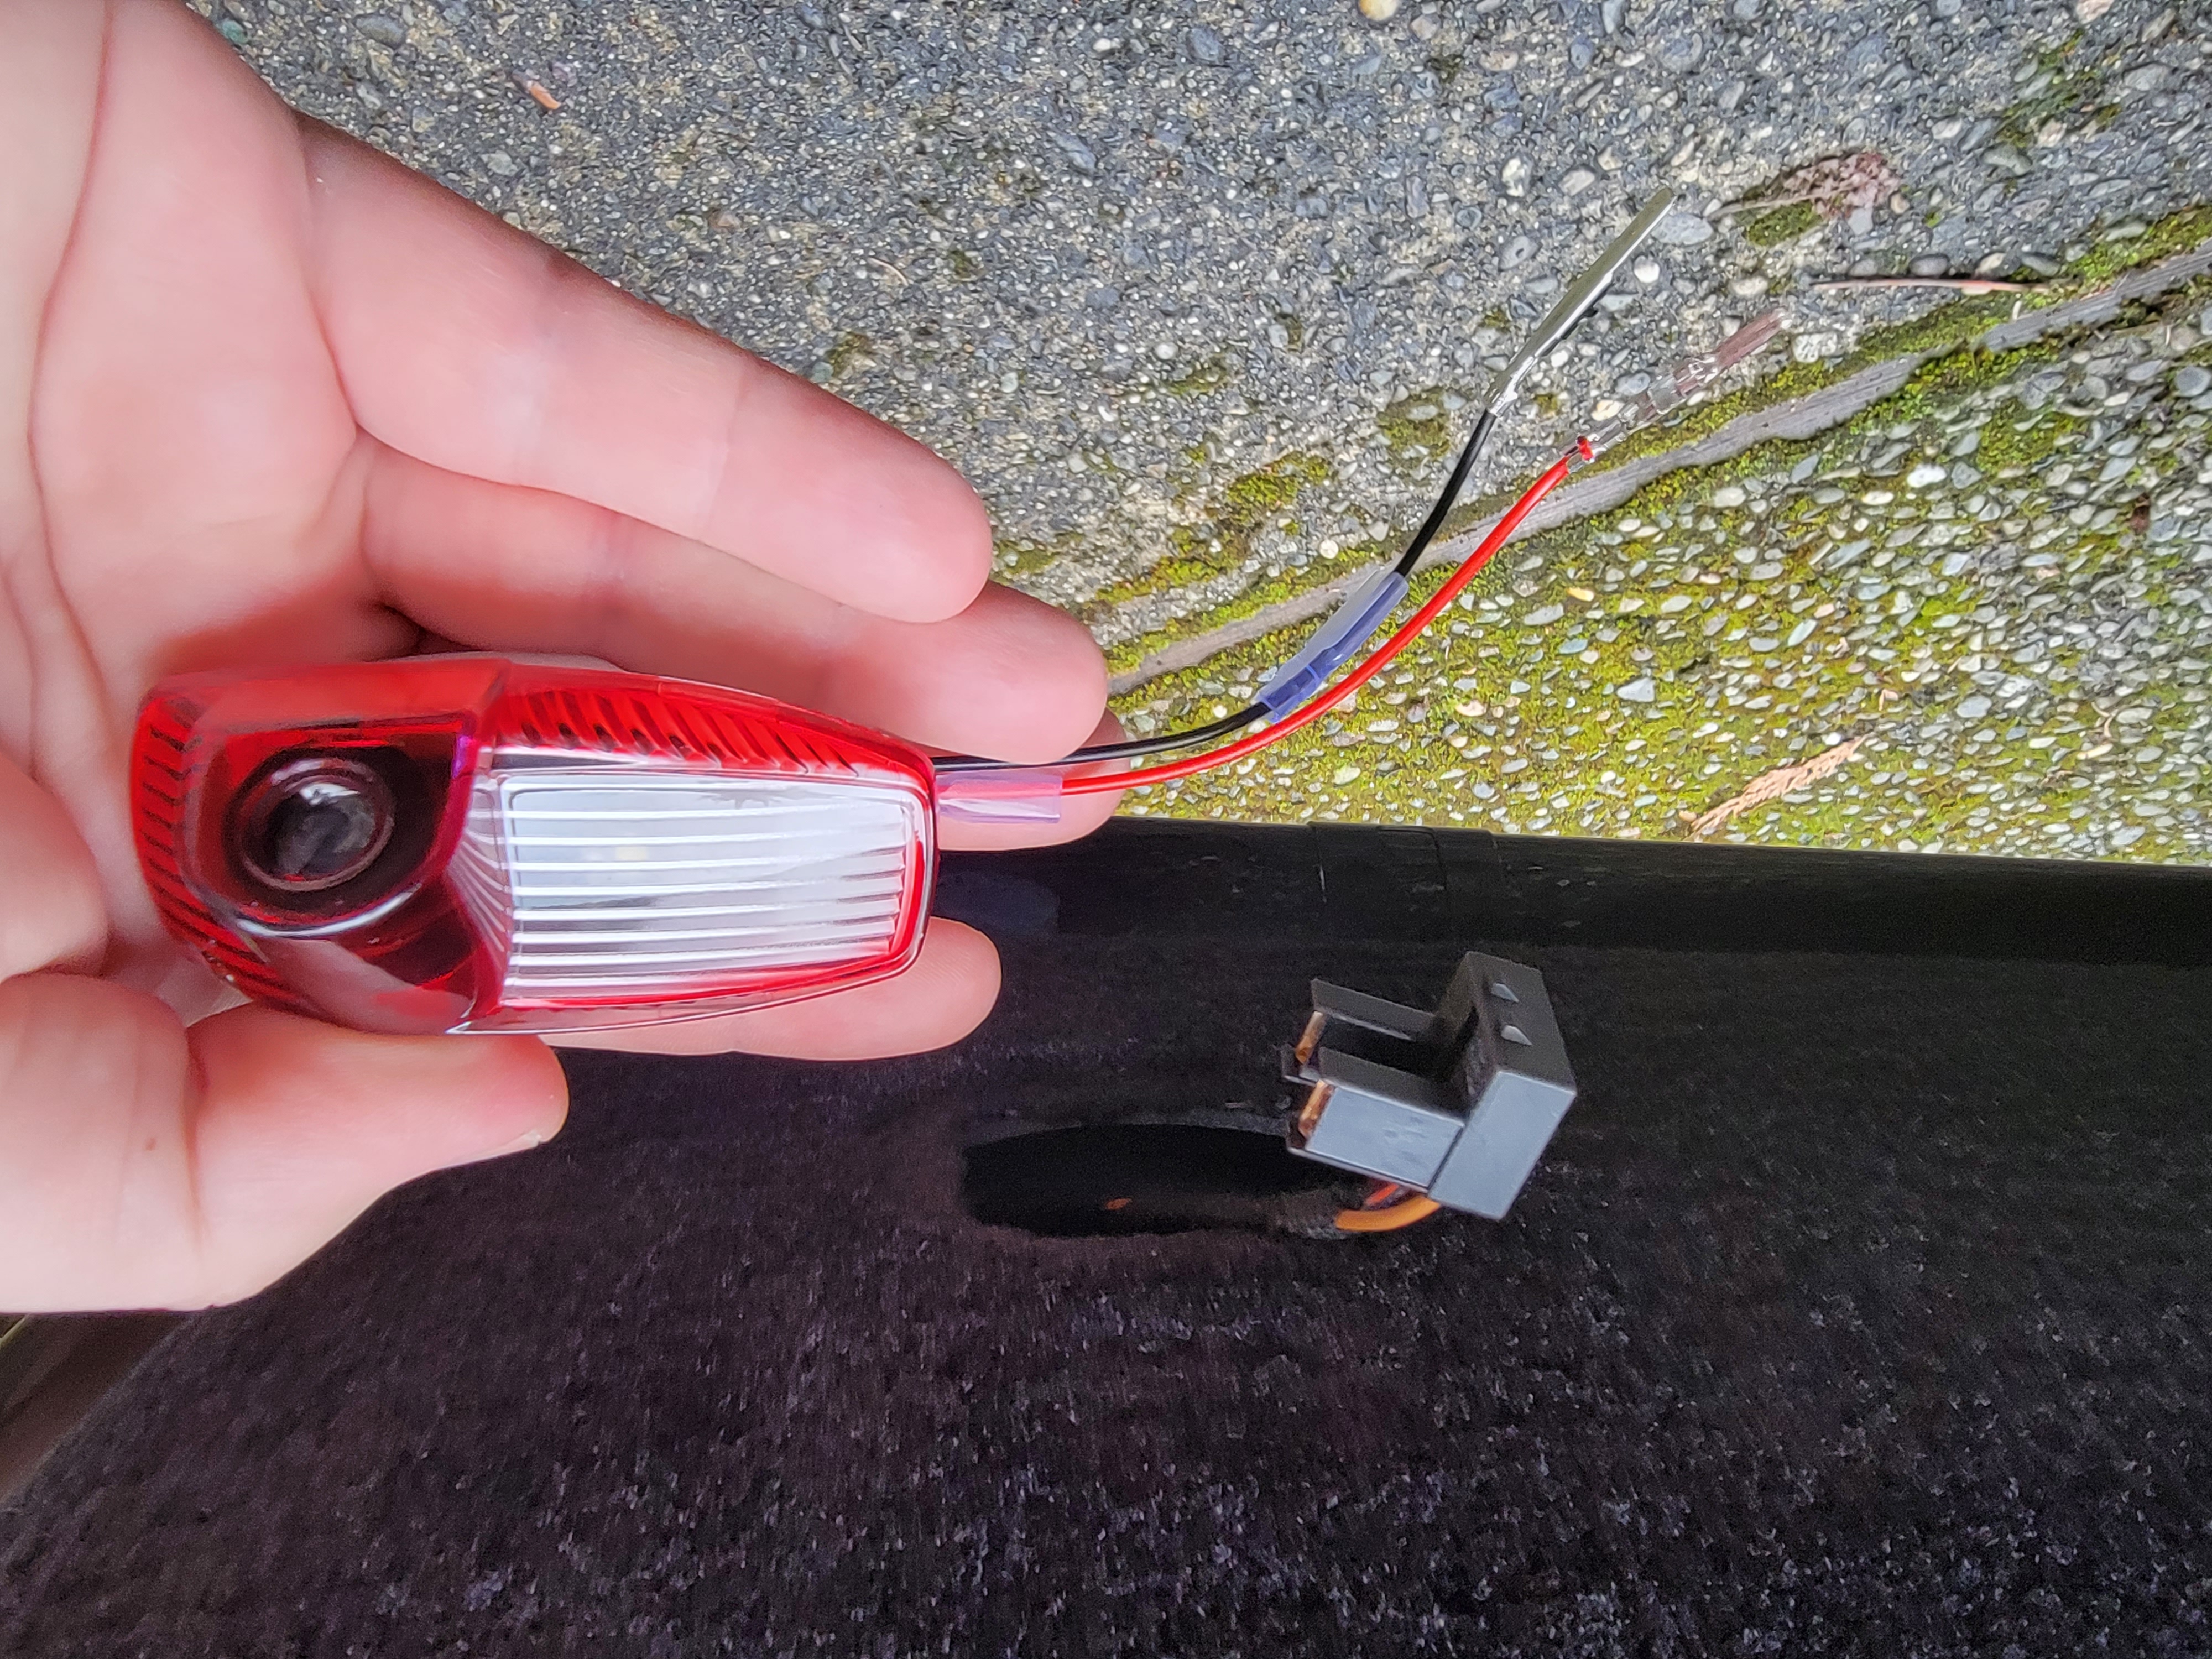
We’re going to start by prying the lights out of their sockets, so that they can be changed. Grab a flat screwdriver, and insert it from the door hinge side. Press towards the light and then pull, it should come off rather easily:


Warning:
If the car has been turned on even for short amount of time, the bulbs in the original lights will be very hot! Be careful not to burn yourself. Also pay attention to disconnect the complete light assembly, and not accidentally pull so that only the bulb comes off the case – at which point risk of burn becomes even more severe.
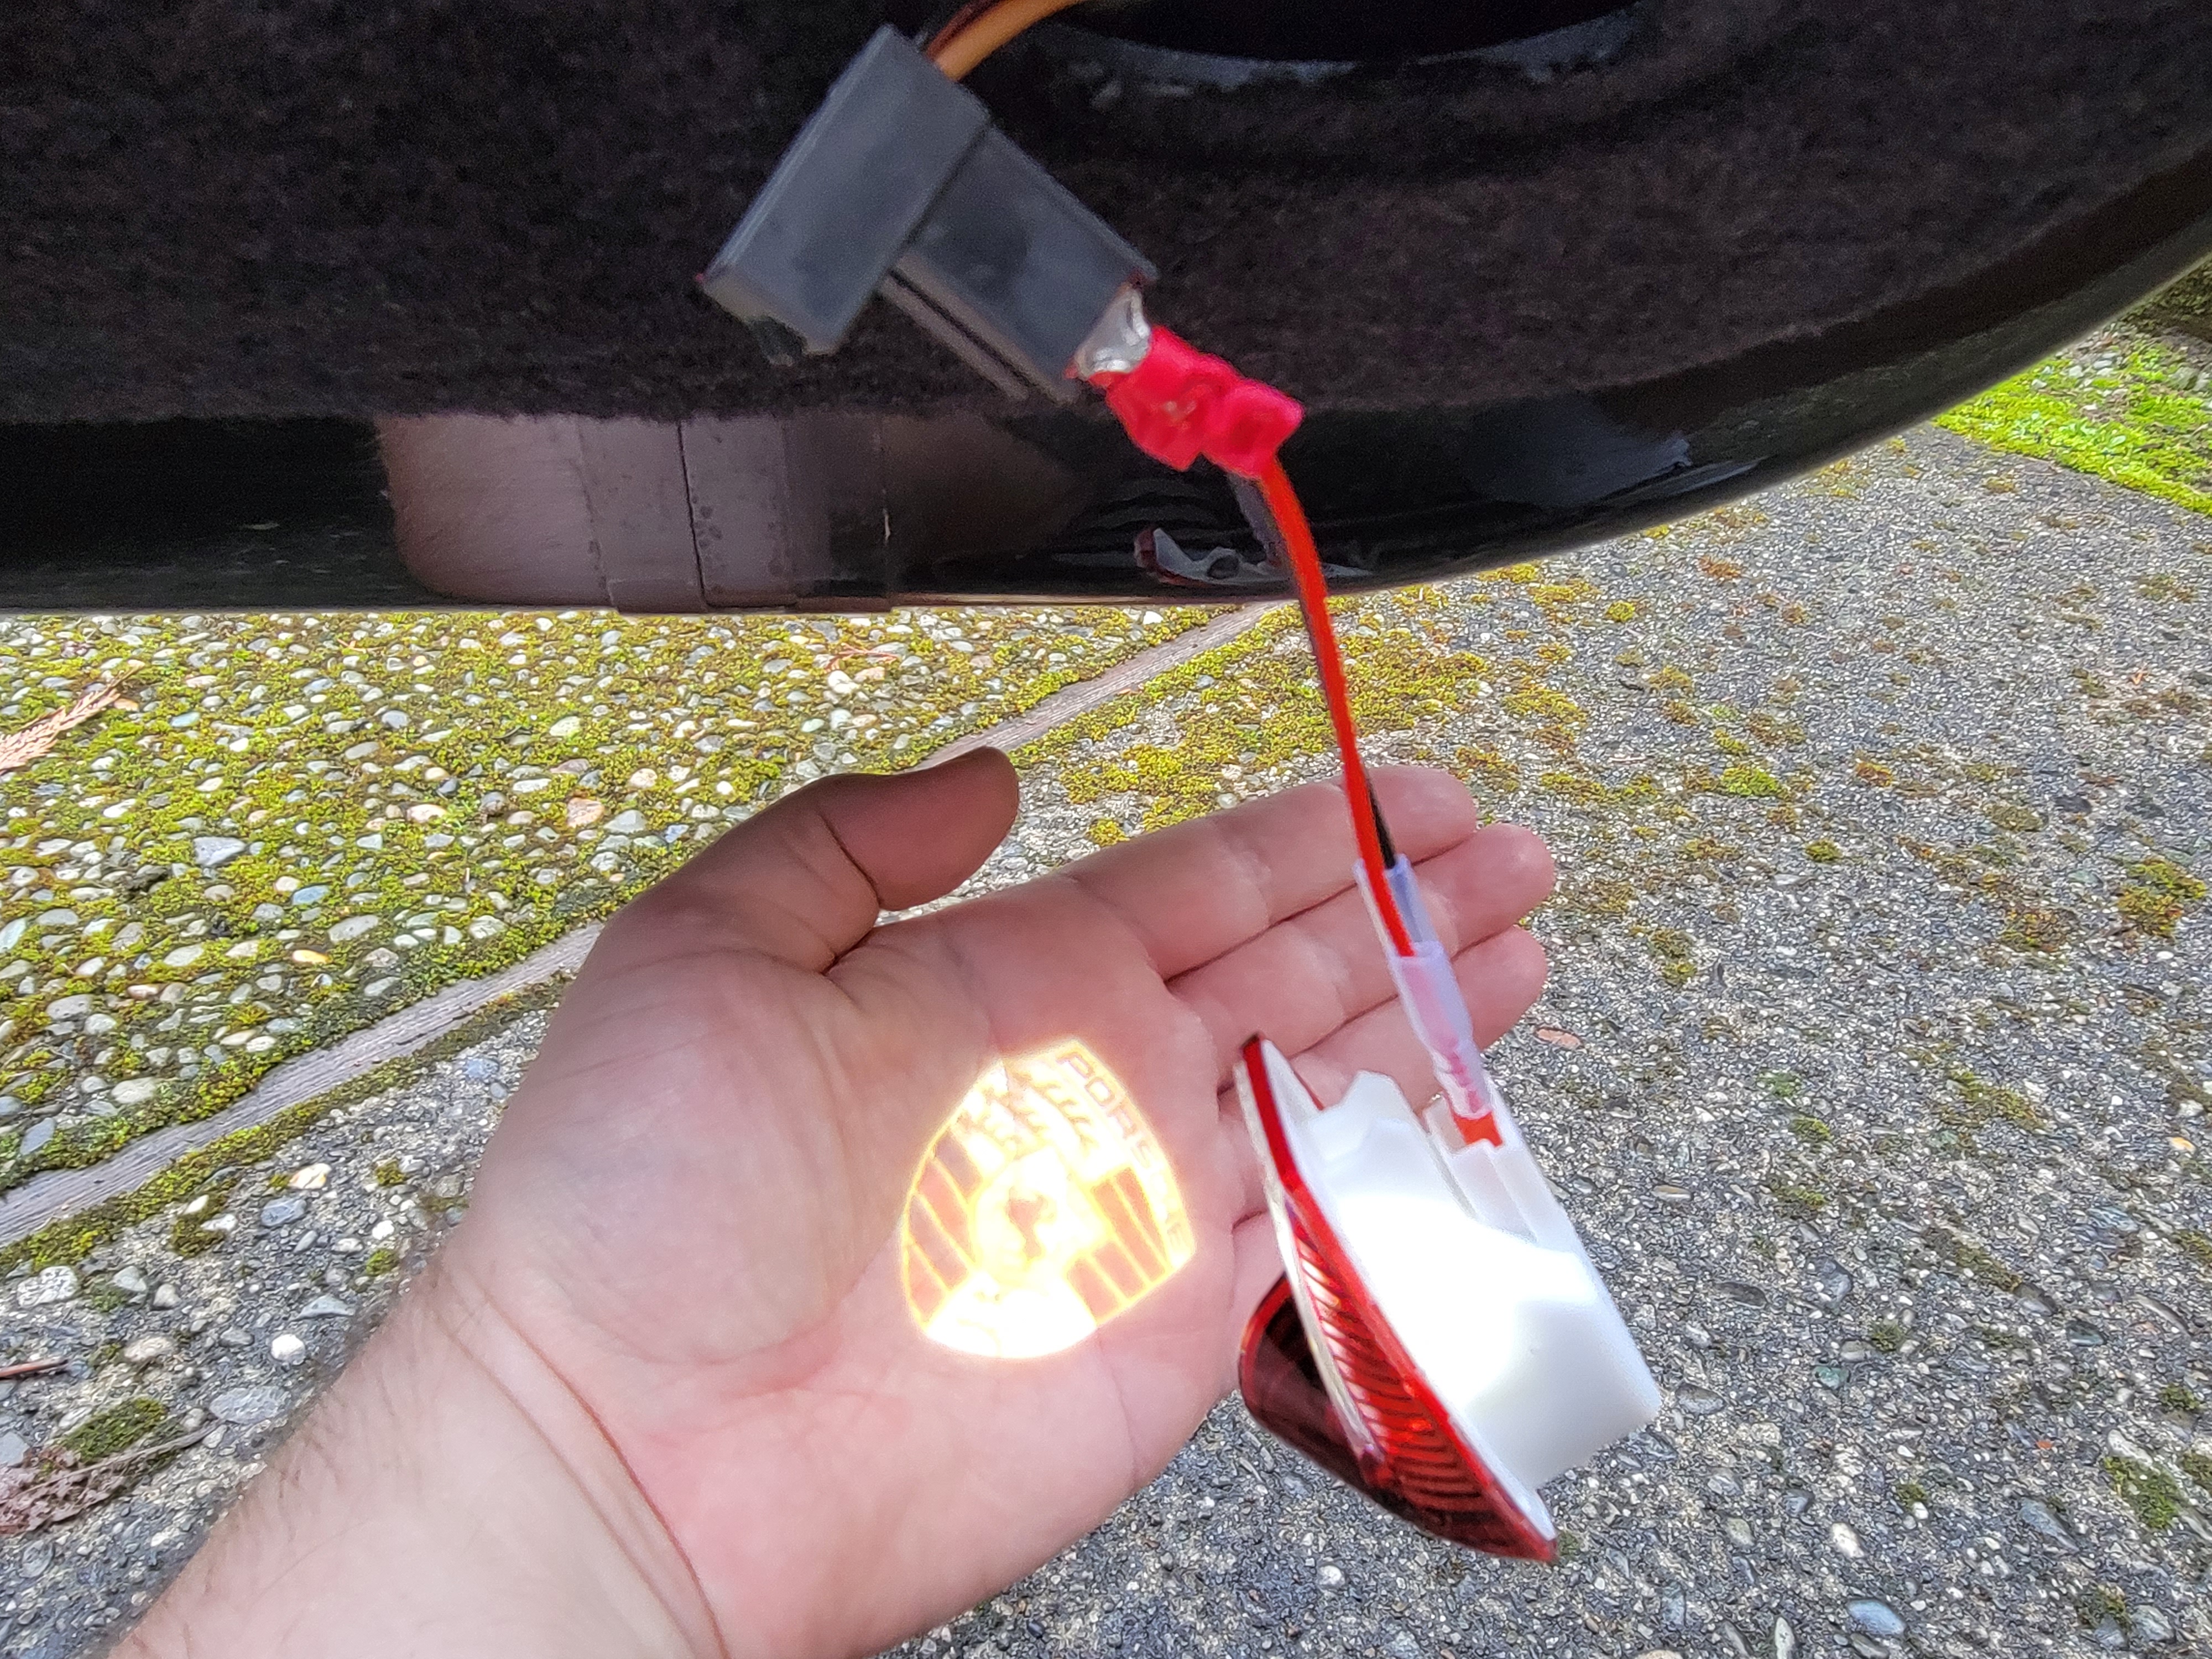
To unplug the lights, hold it firmly and pull to disconnect the flat connector:
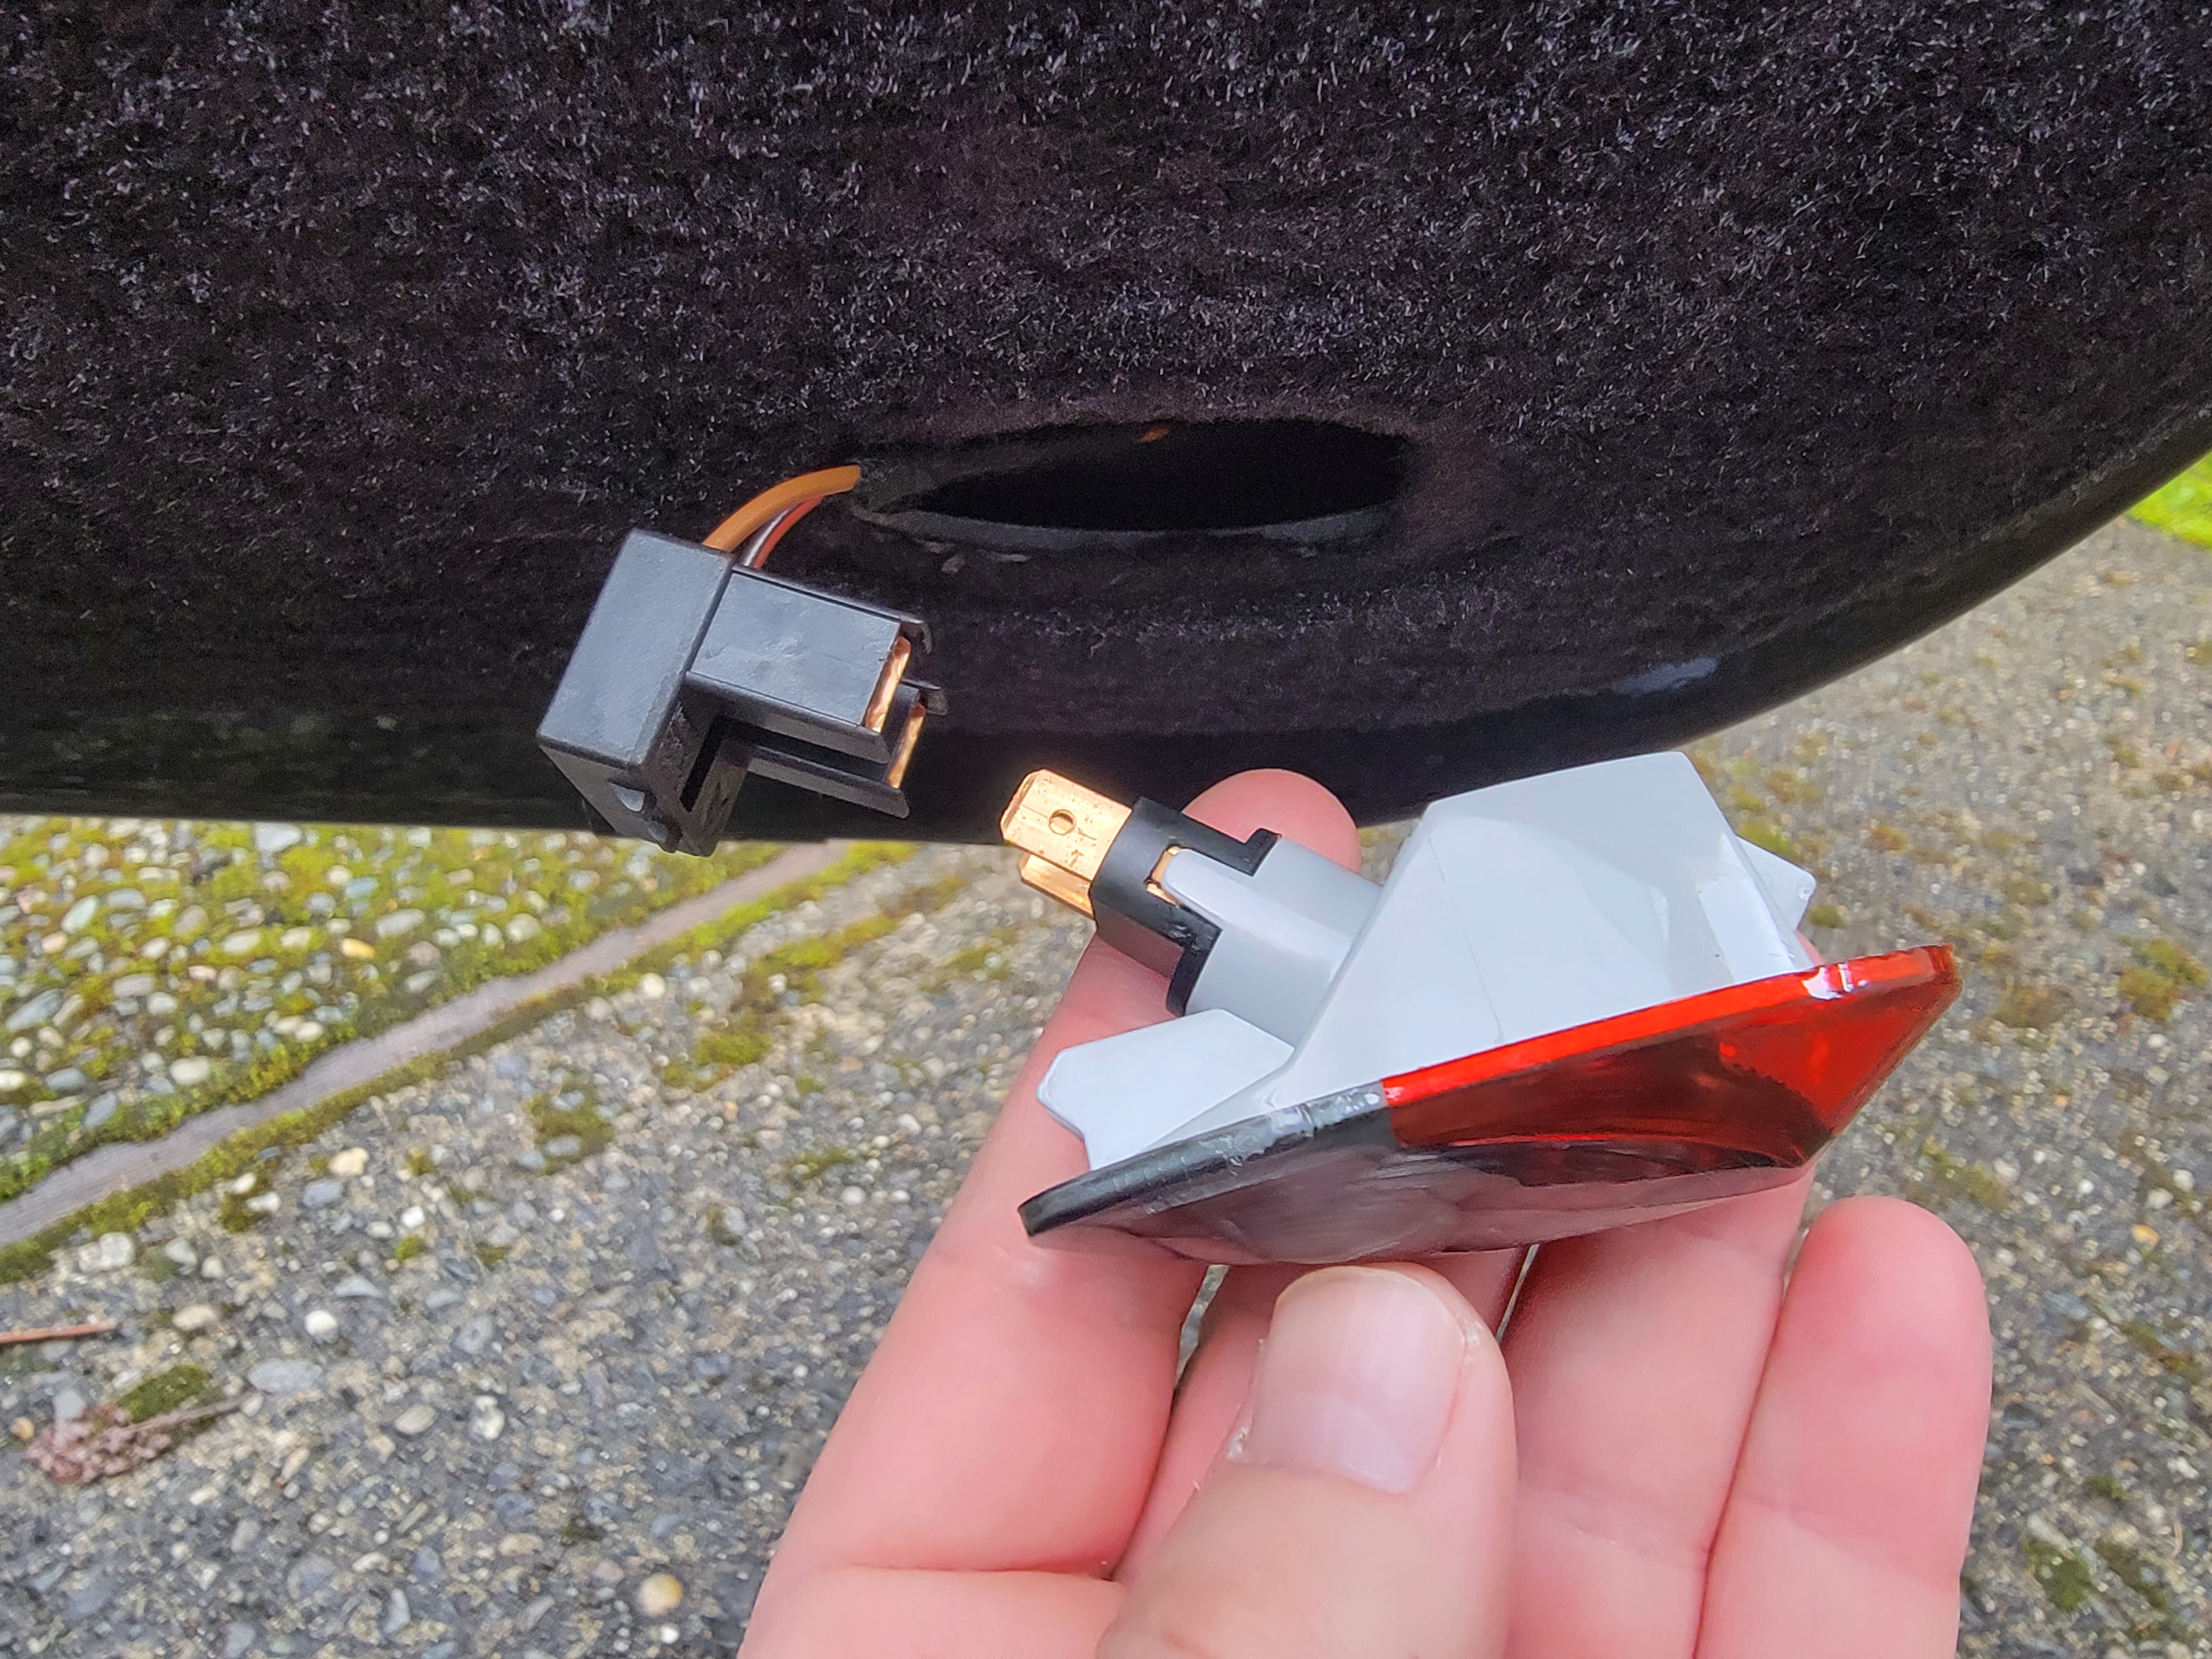
And it is at this time we realize the new ones aren’t 100% plug and play 😉
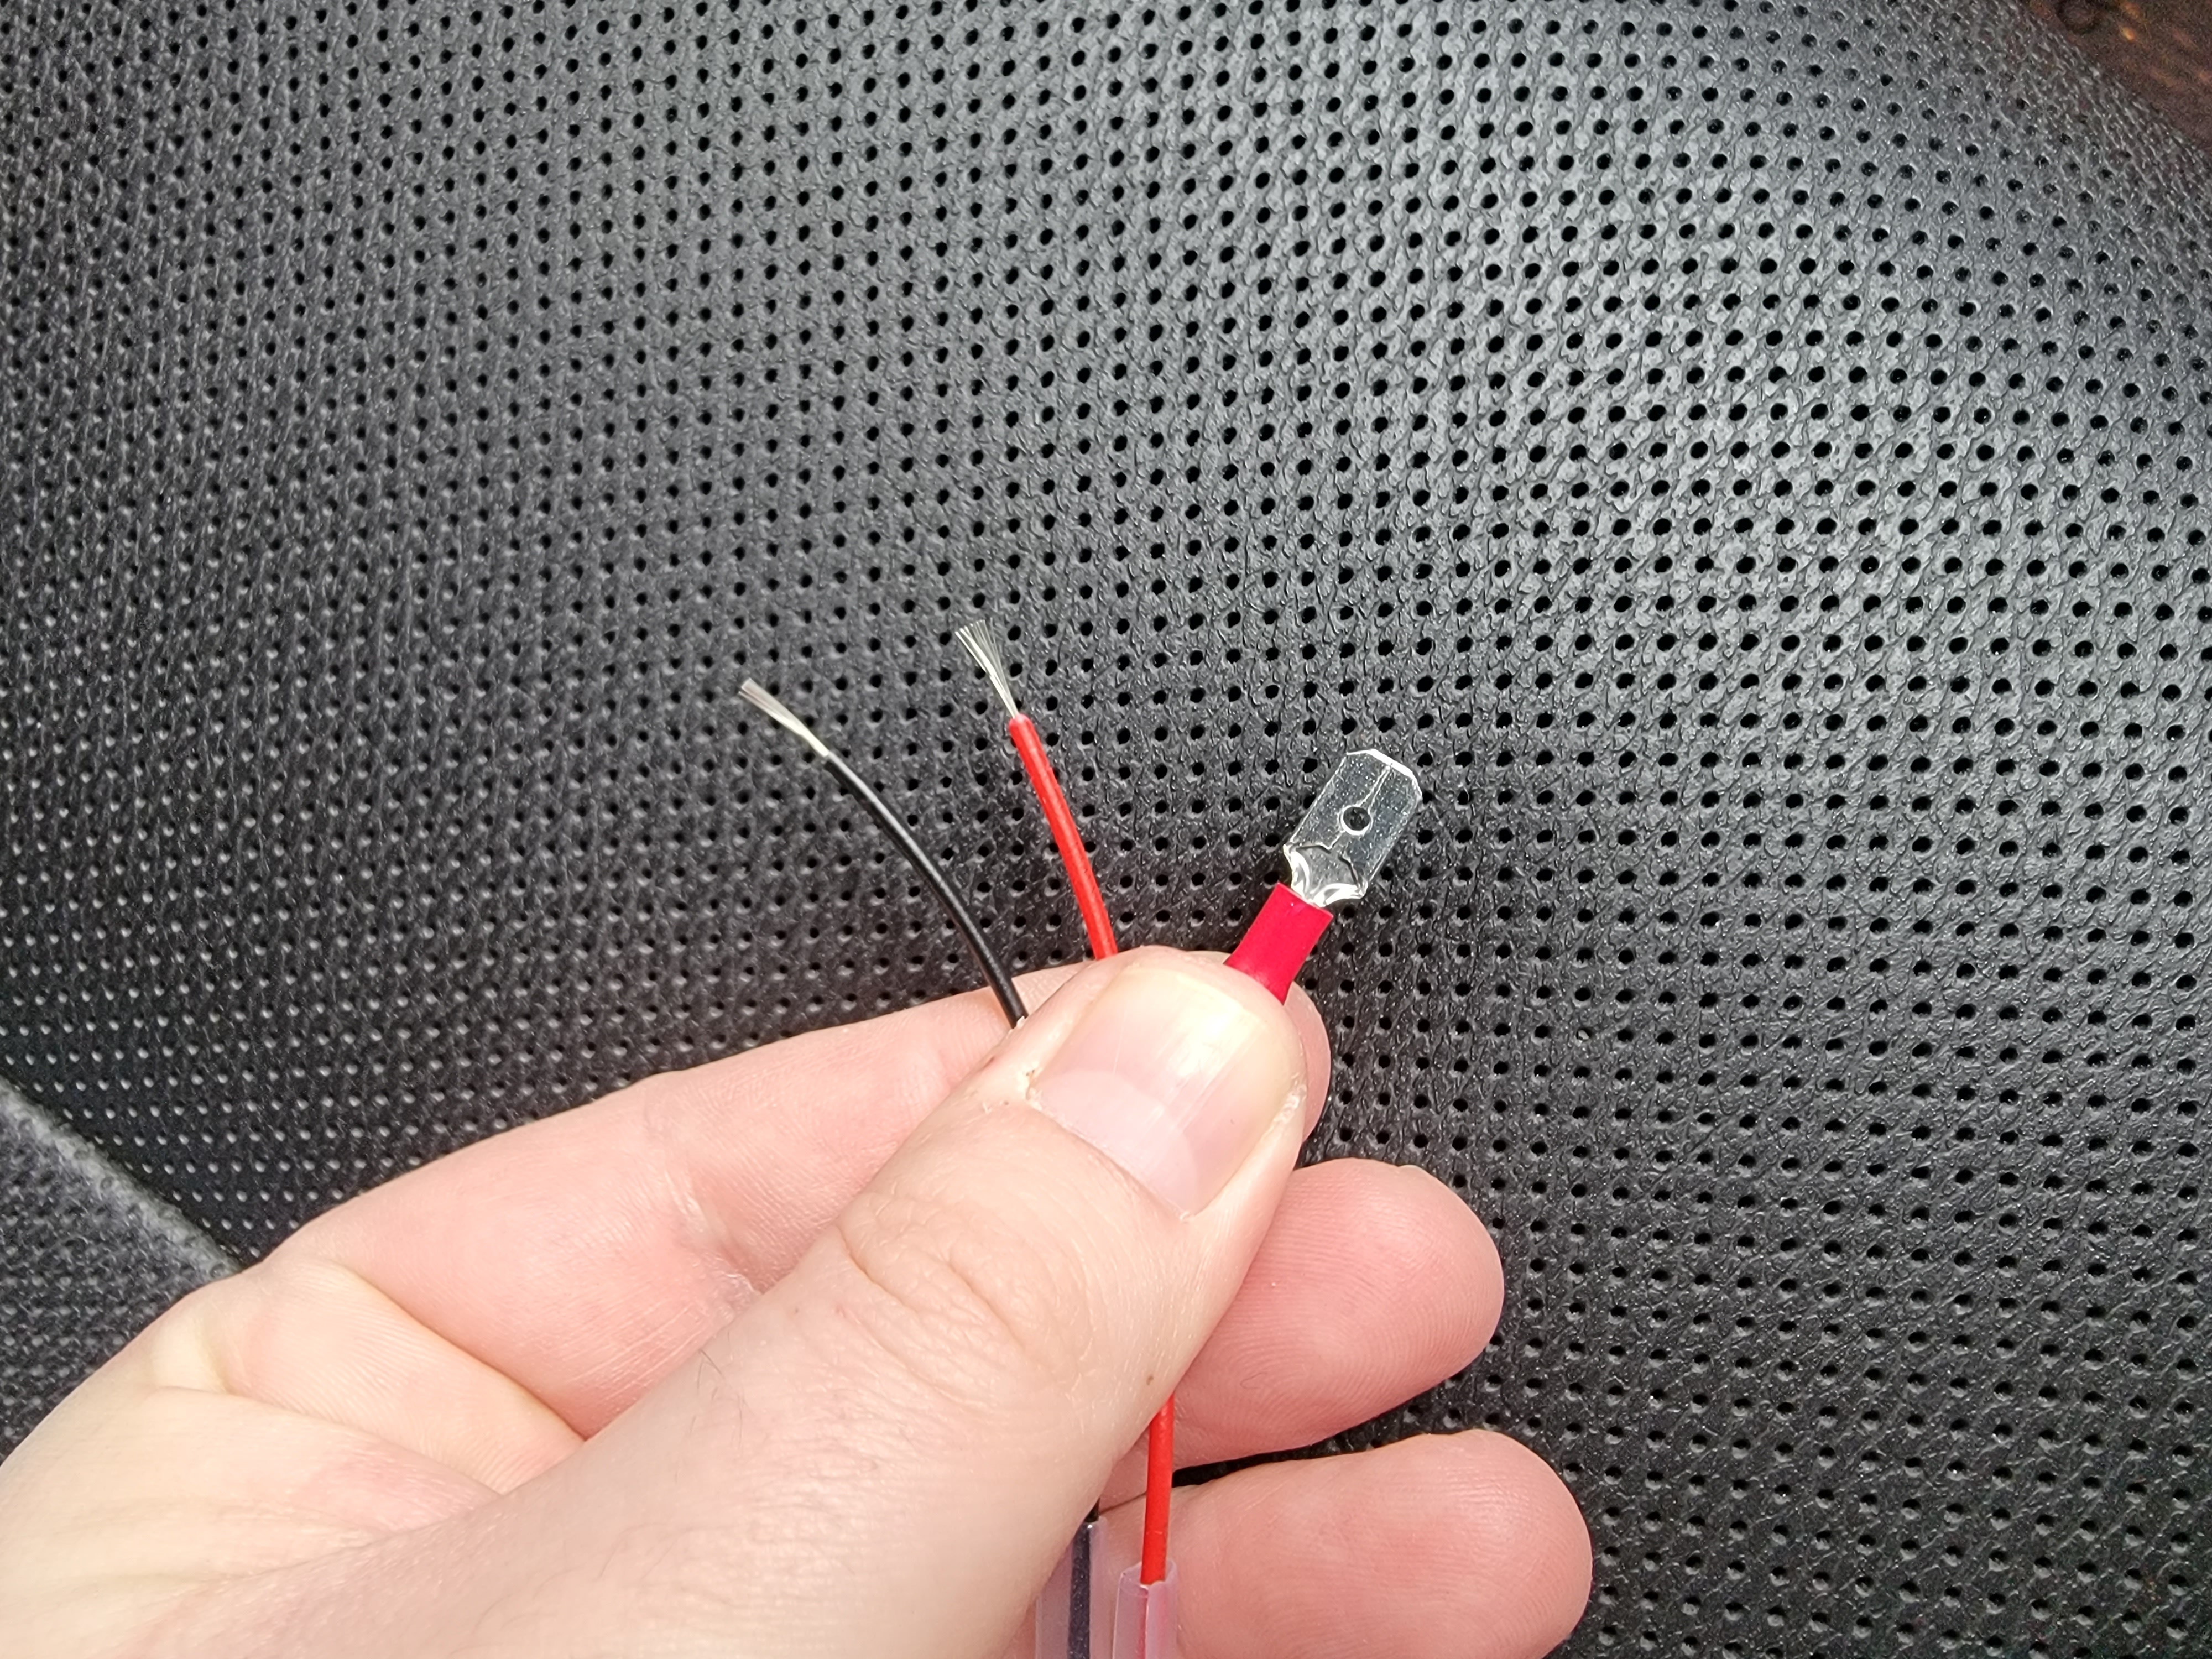
Now, grab your tools (pictured here is wire cutter and stripper):

The lights come with a connector with 2 wires each. The loose ends of the wires have small pins attached to them, let’s quickly snip those and replace with the flat connectors we’ll be using (the same ones our OEM lights had):

I like to strip a bit more wire, and then bend it so that it makes for bigger surface area and more secure crimping:
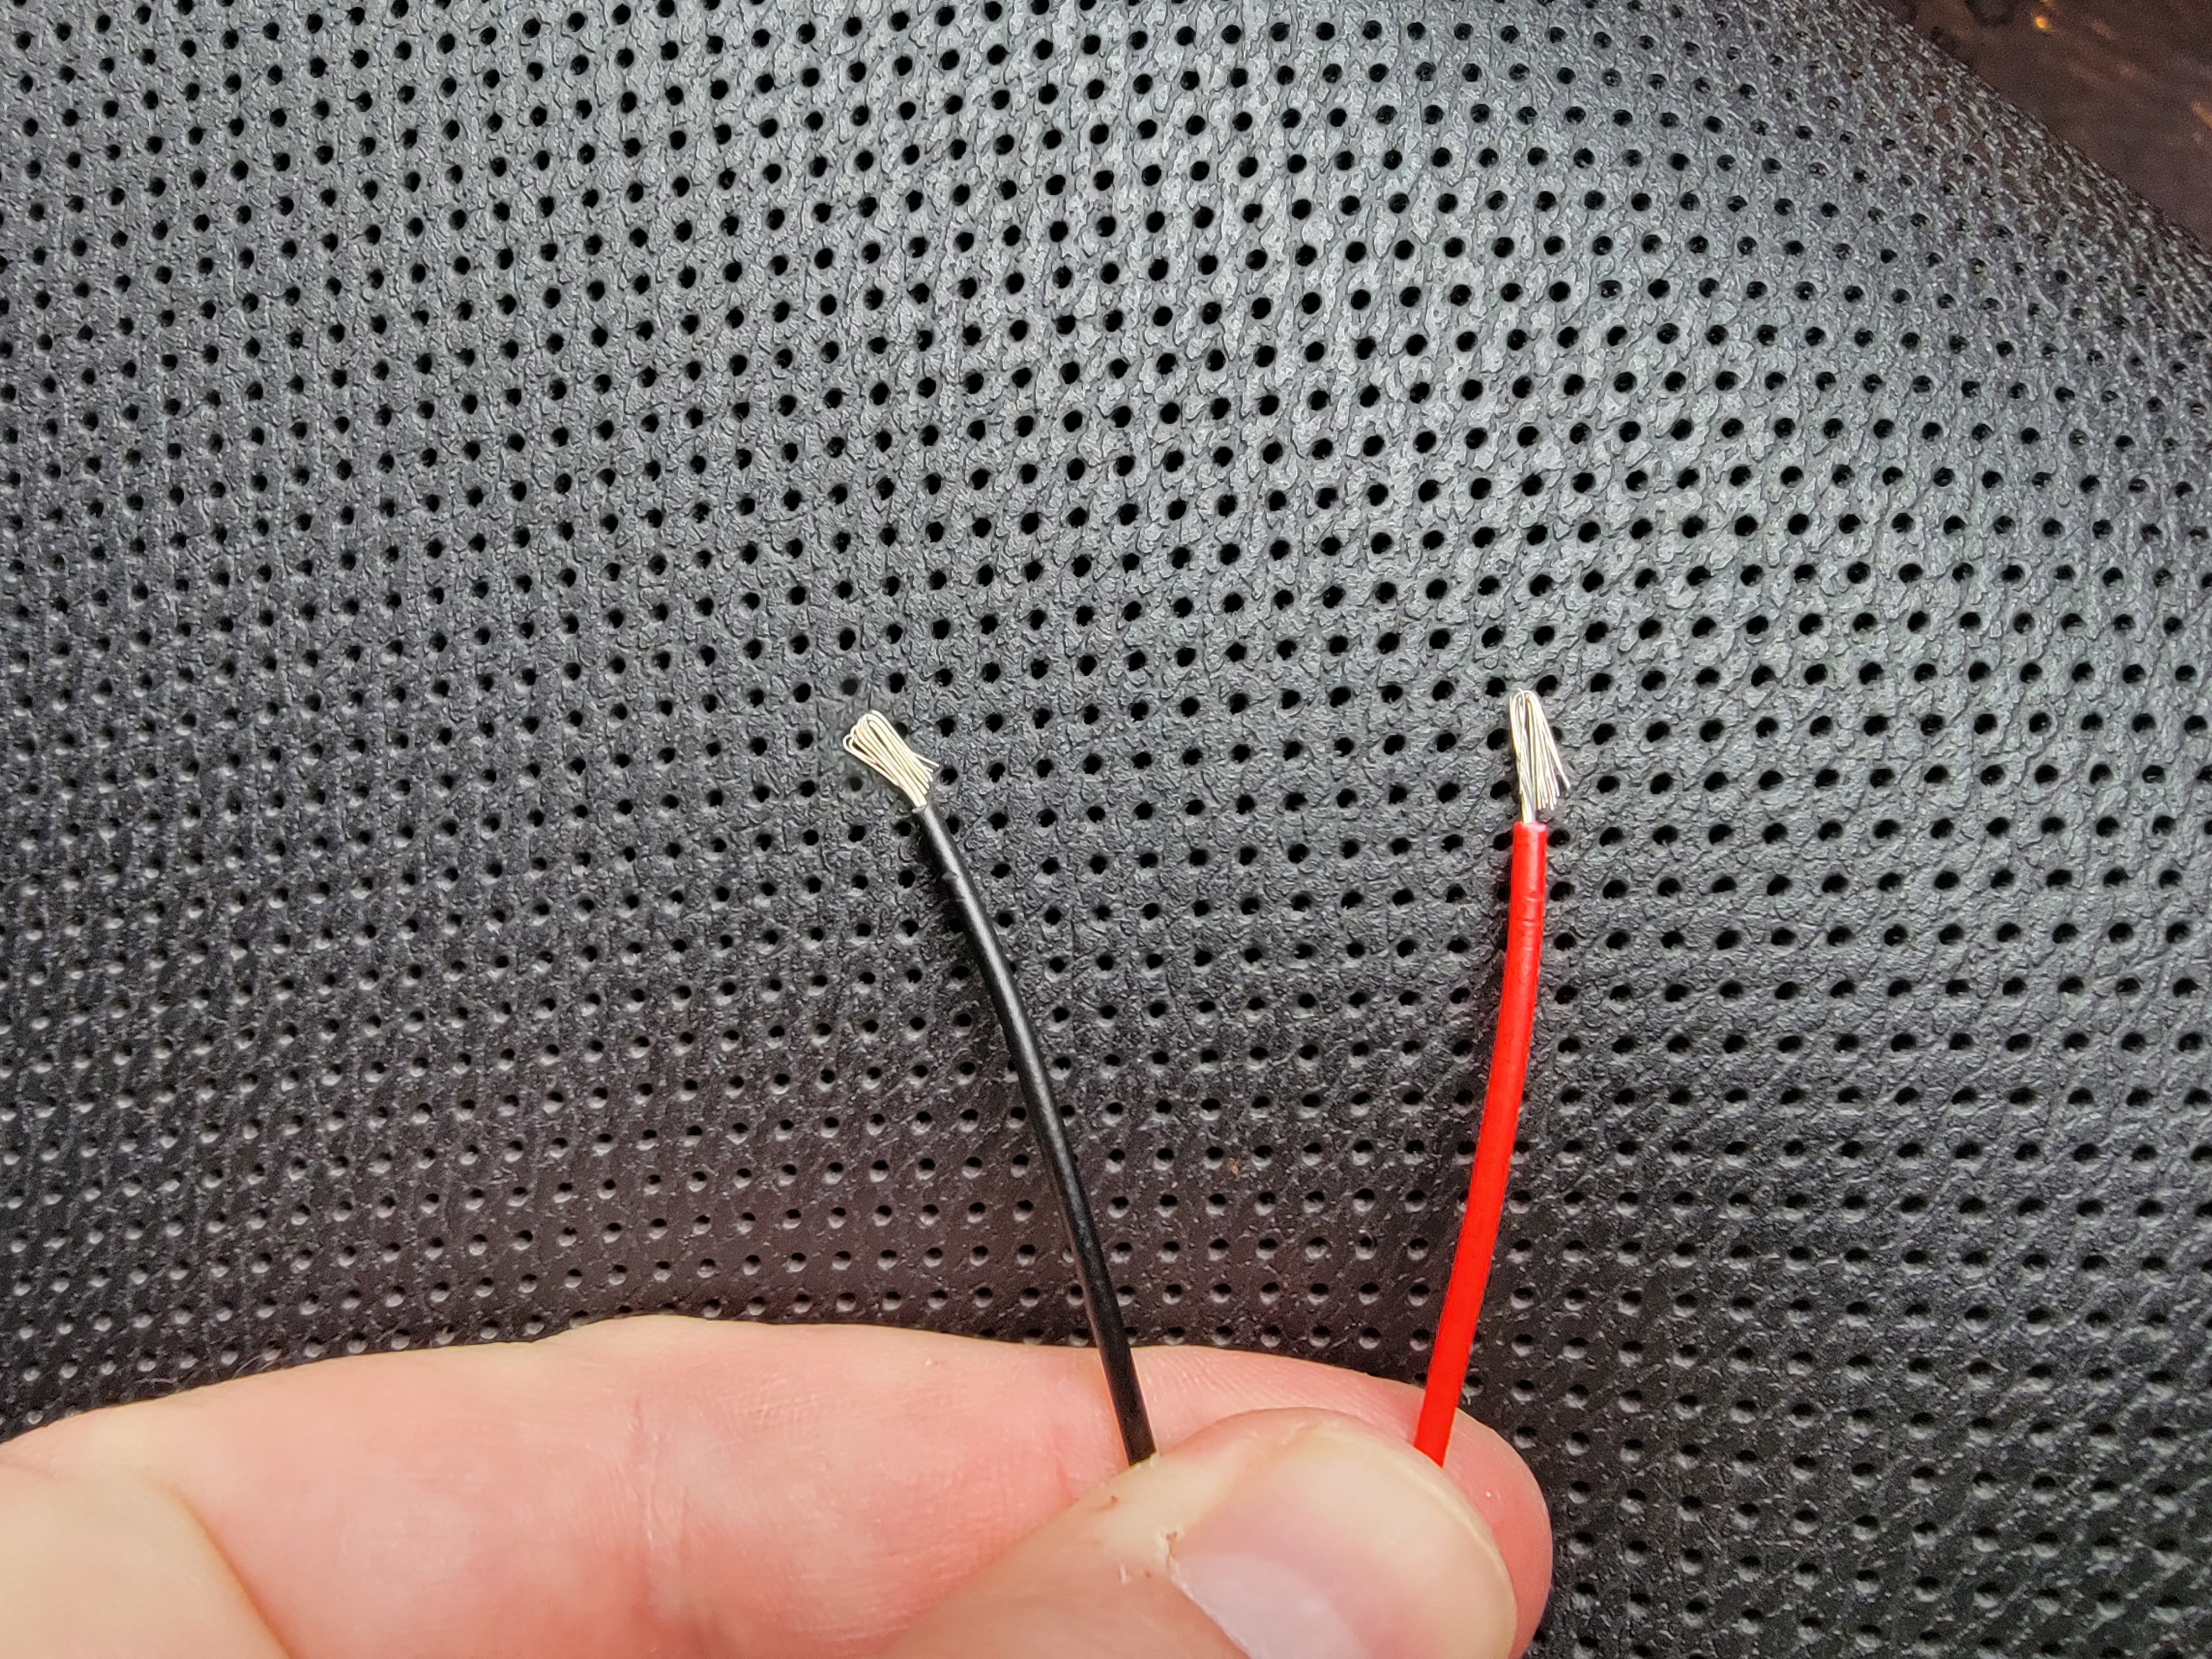
This should give us:
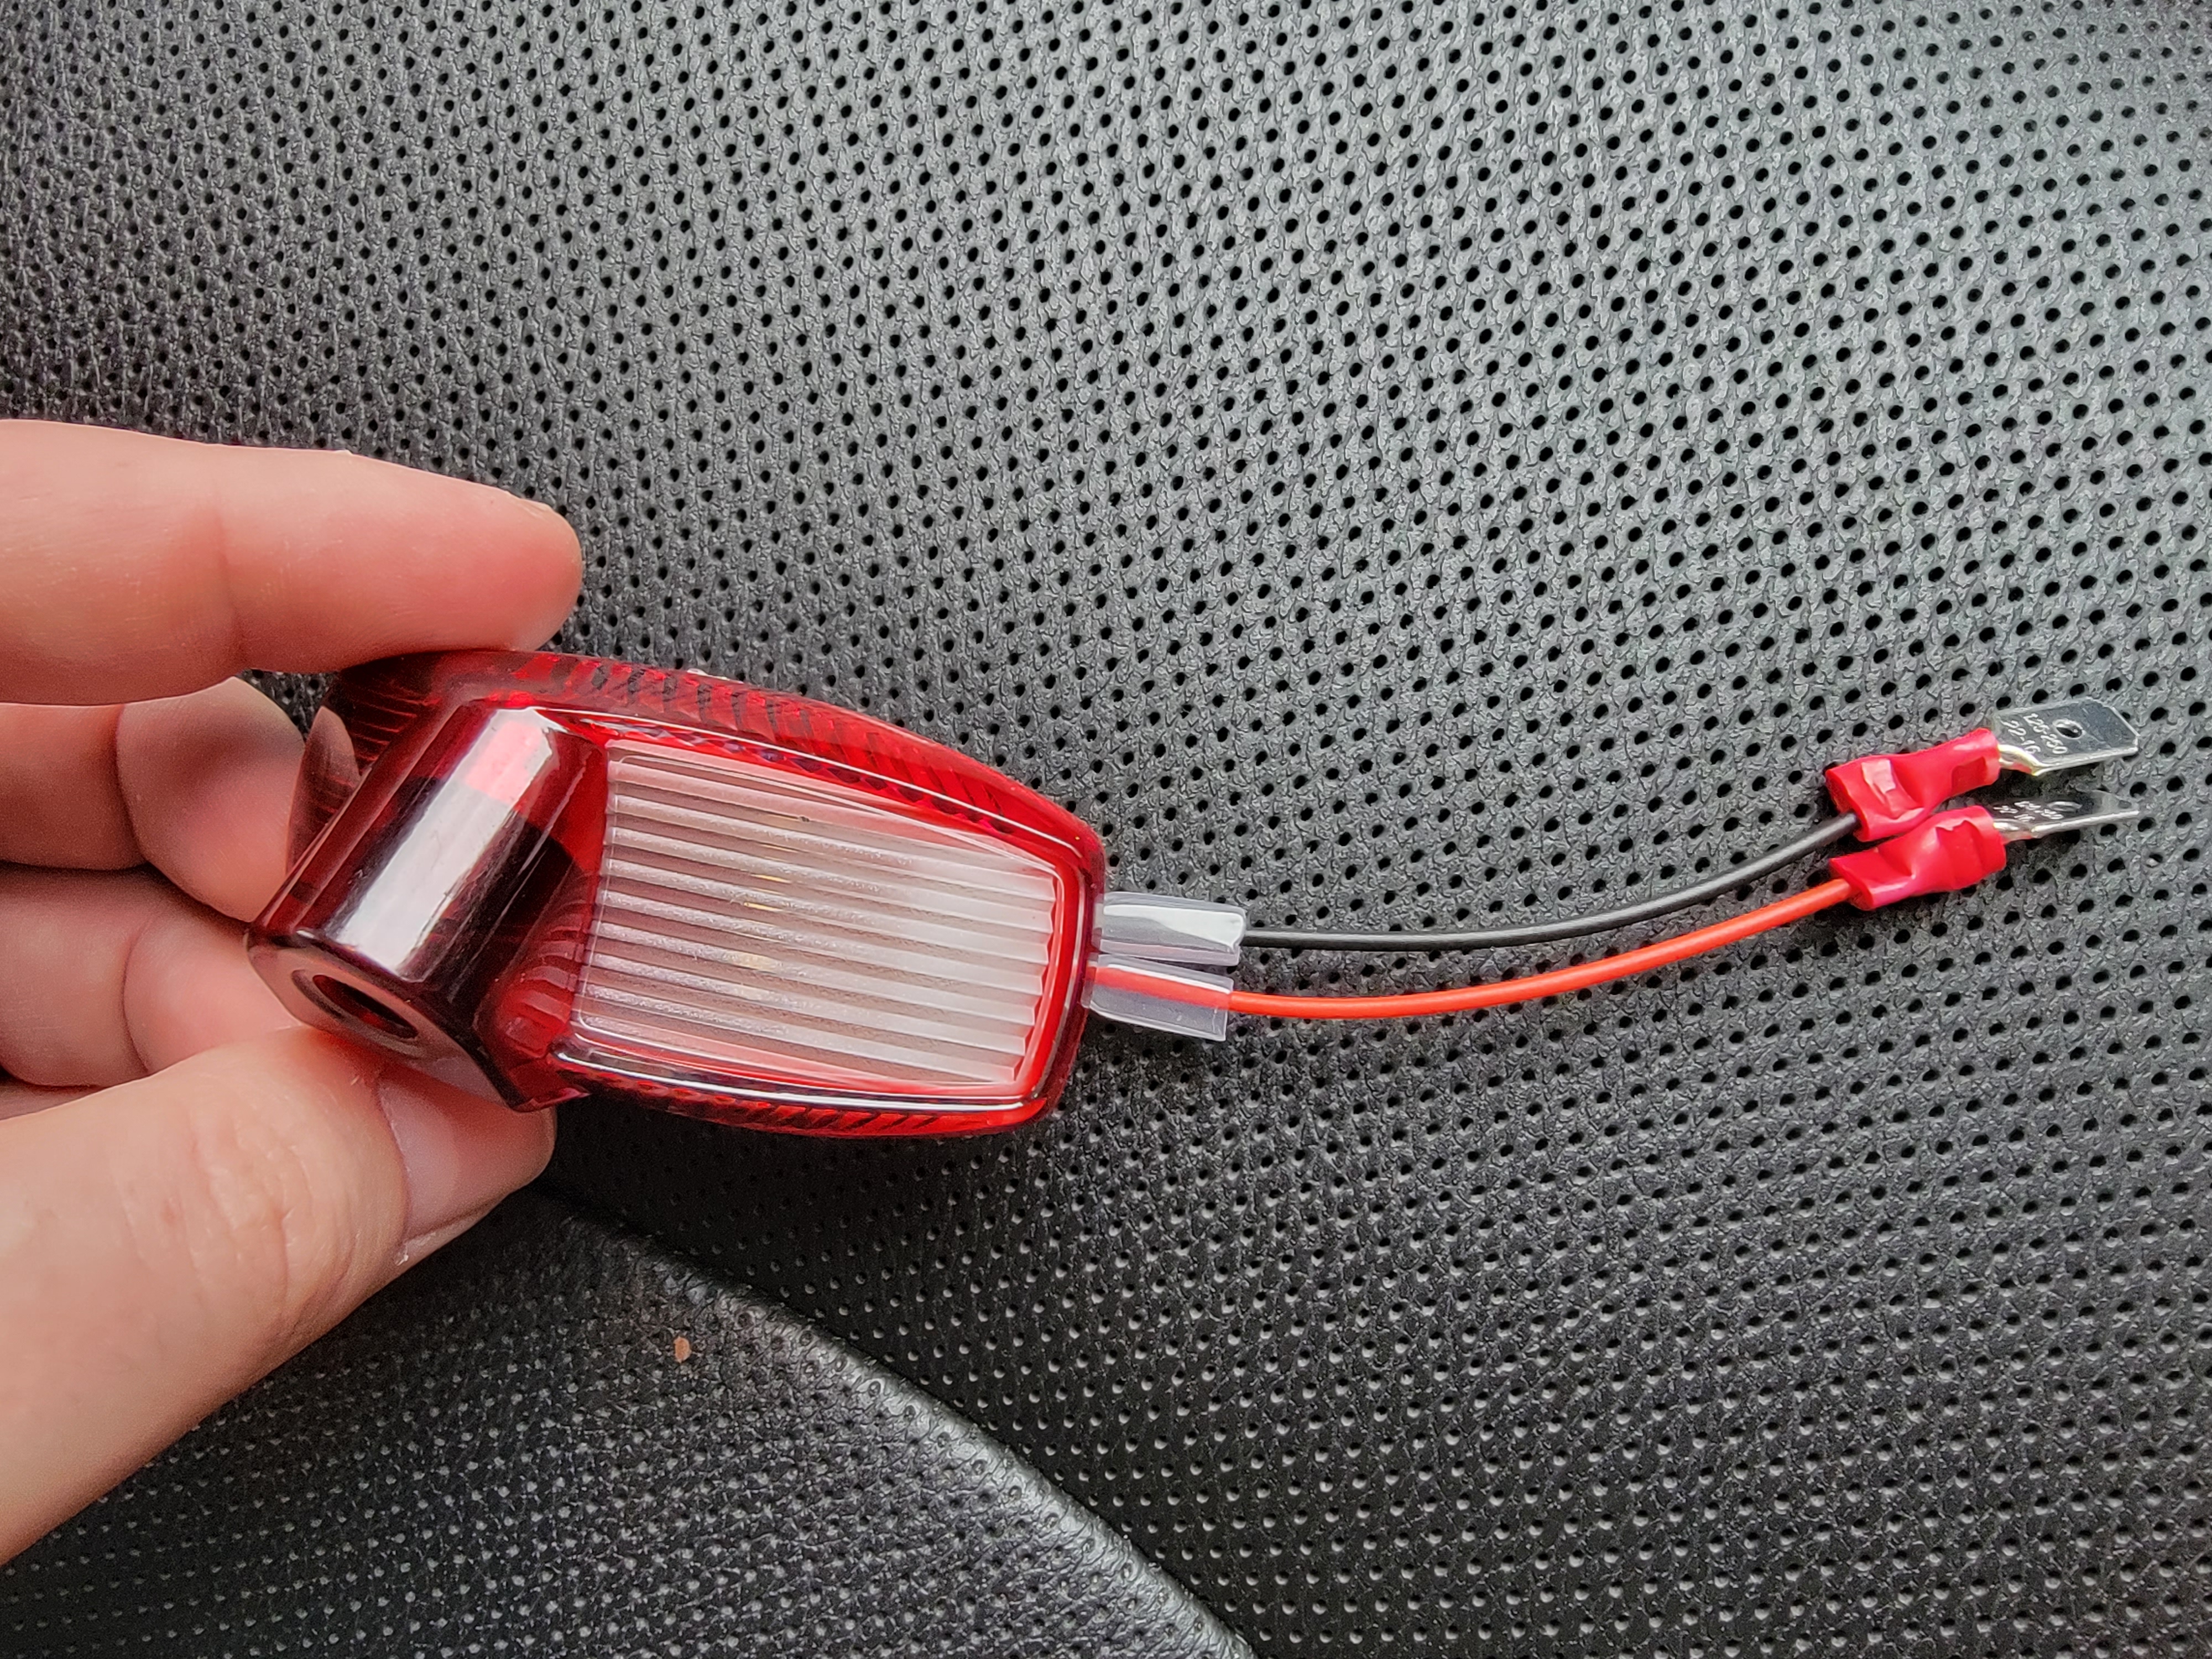
And… that’s pretty much it!
Now connect it all back, and insert new lights (paying attention to which one is right and which one is left):

Actually, maybe before inserting, do a quick check to be sure they work 😉

And voila!
Simple, but makes for a nice detail when opening the doors in the evening. Those projector lights are of good quality, and I’ve been using similar ones in couple other vehicles over the years. They’ve all held up nice over time.
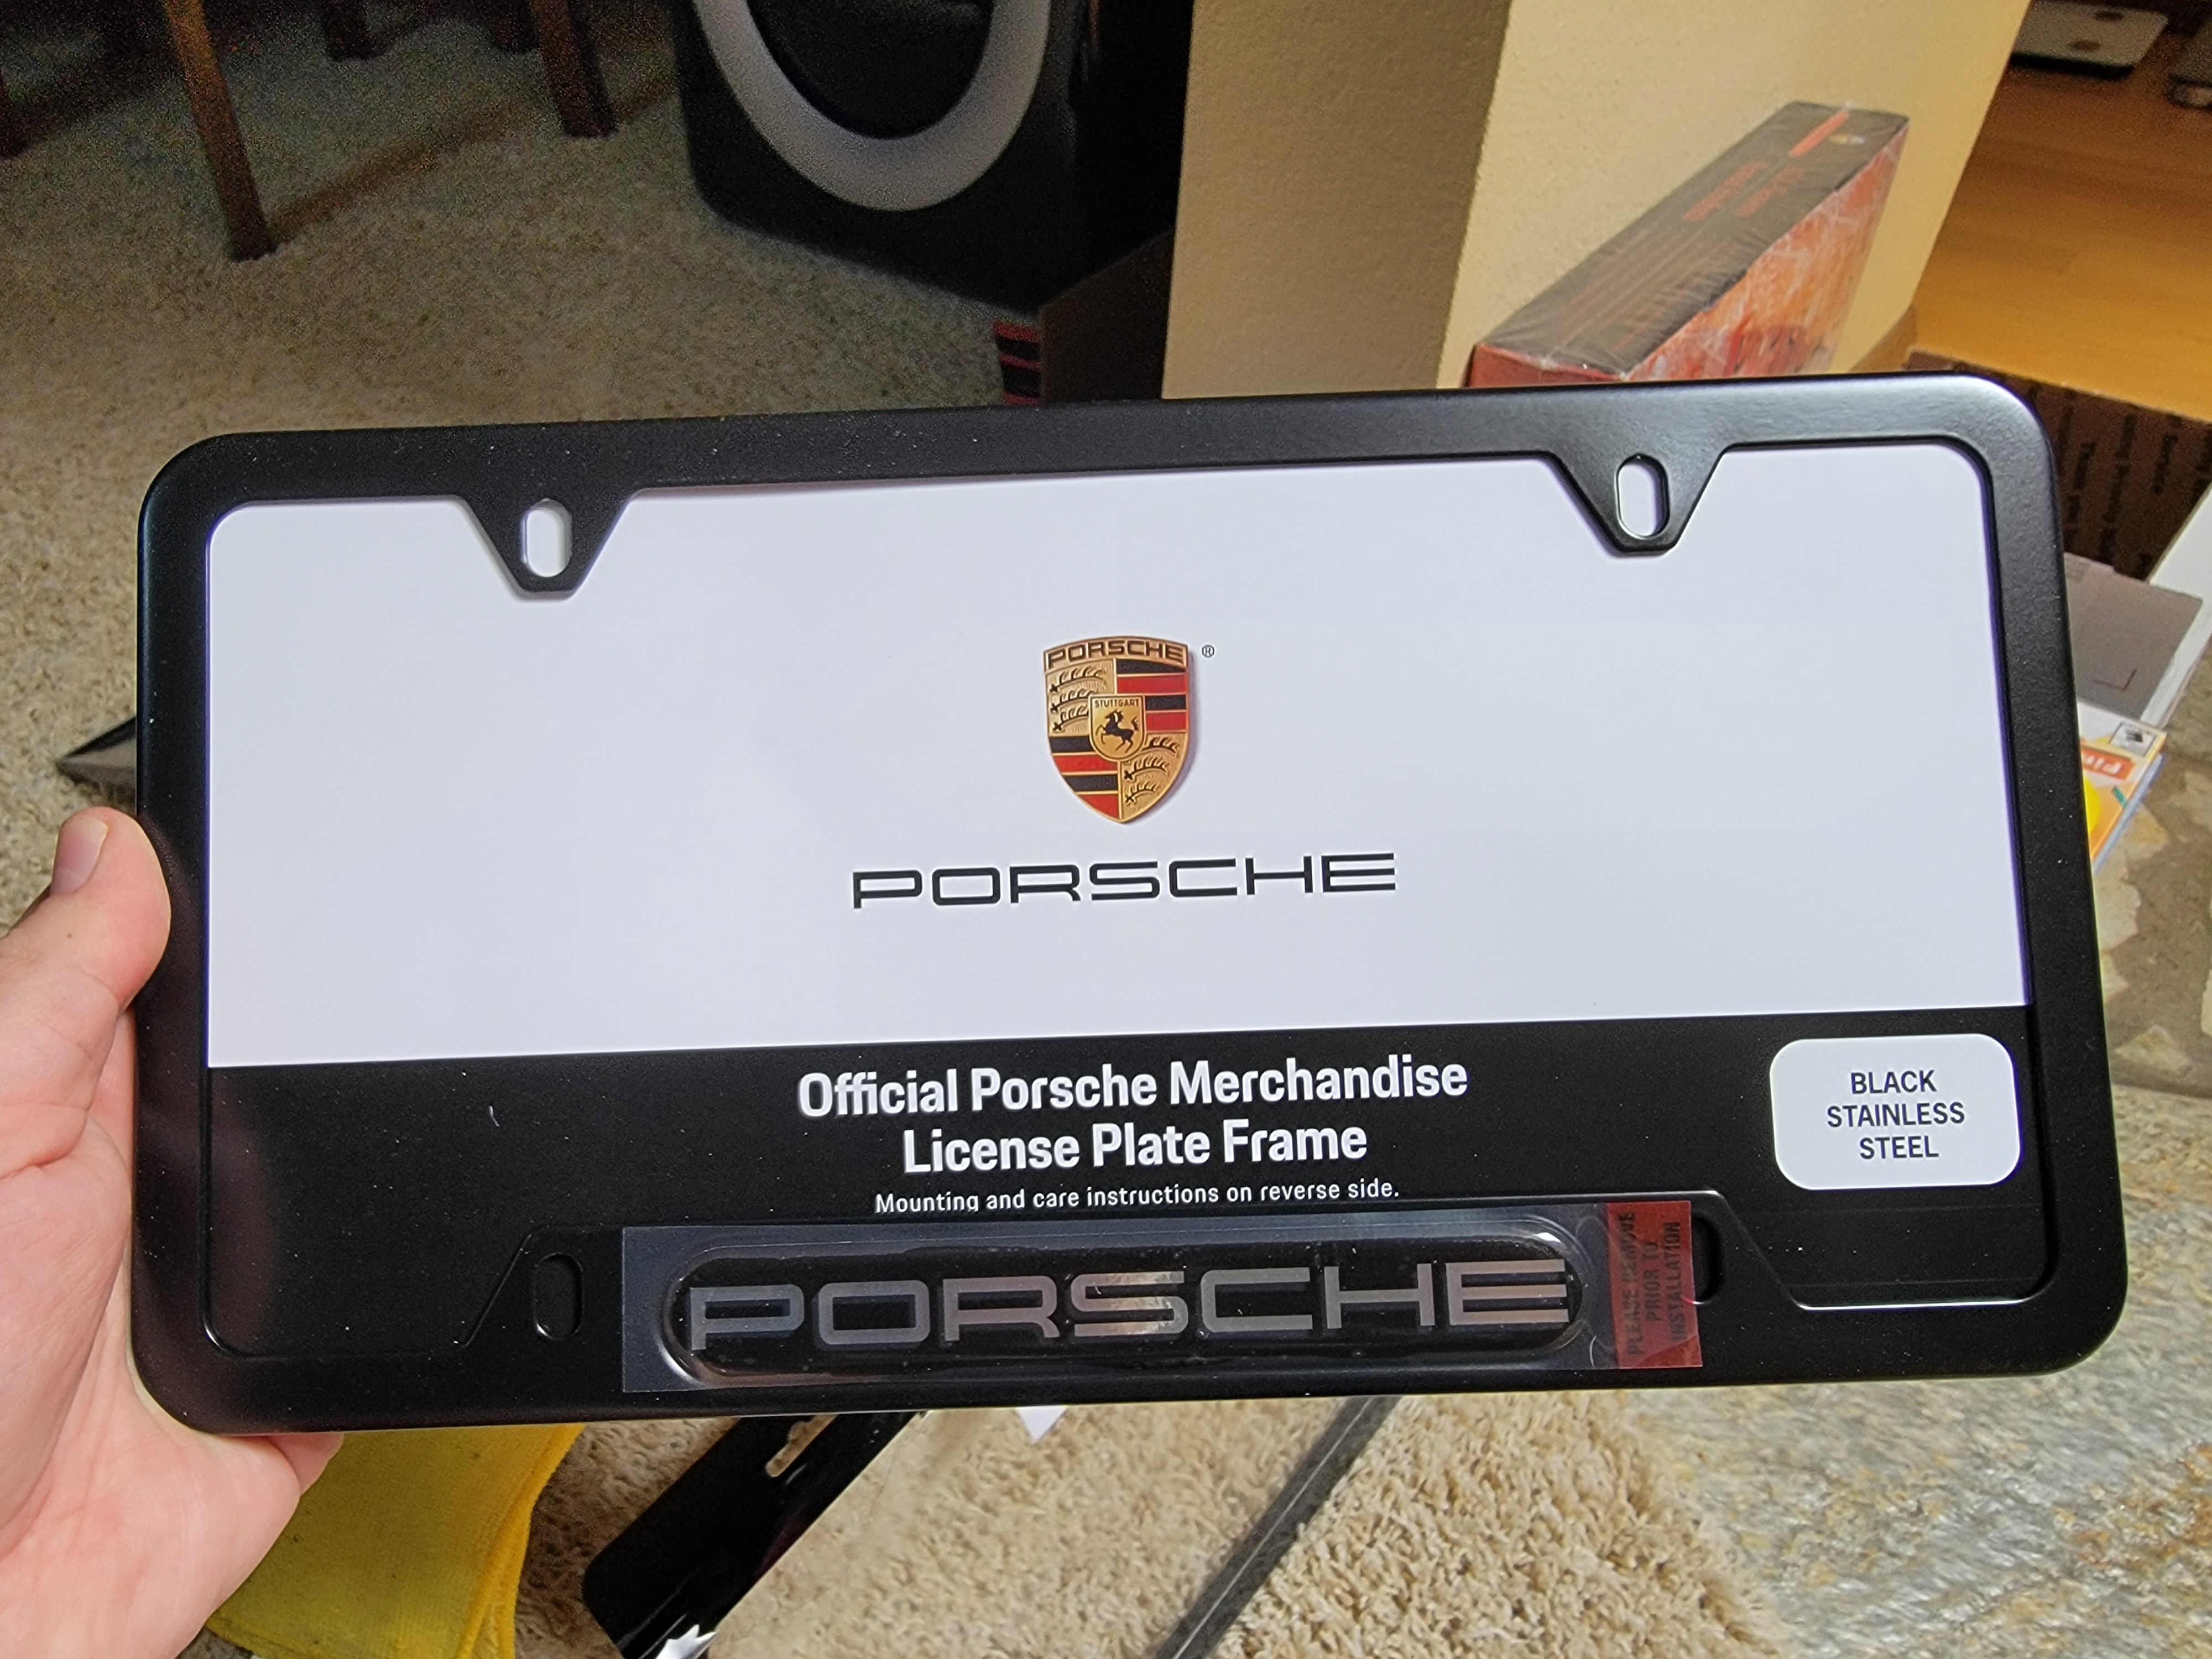
Oh, and while at it, I also decided to quickly put on a new license plate frame… 😉